Description
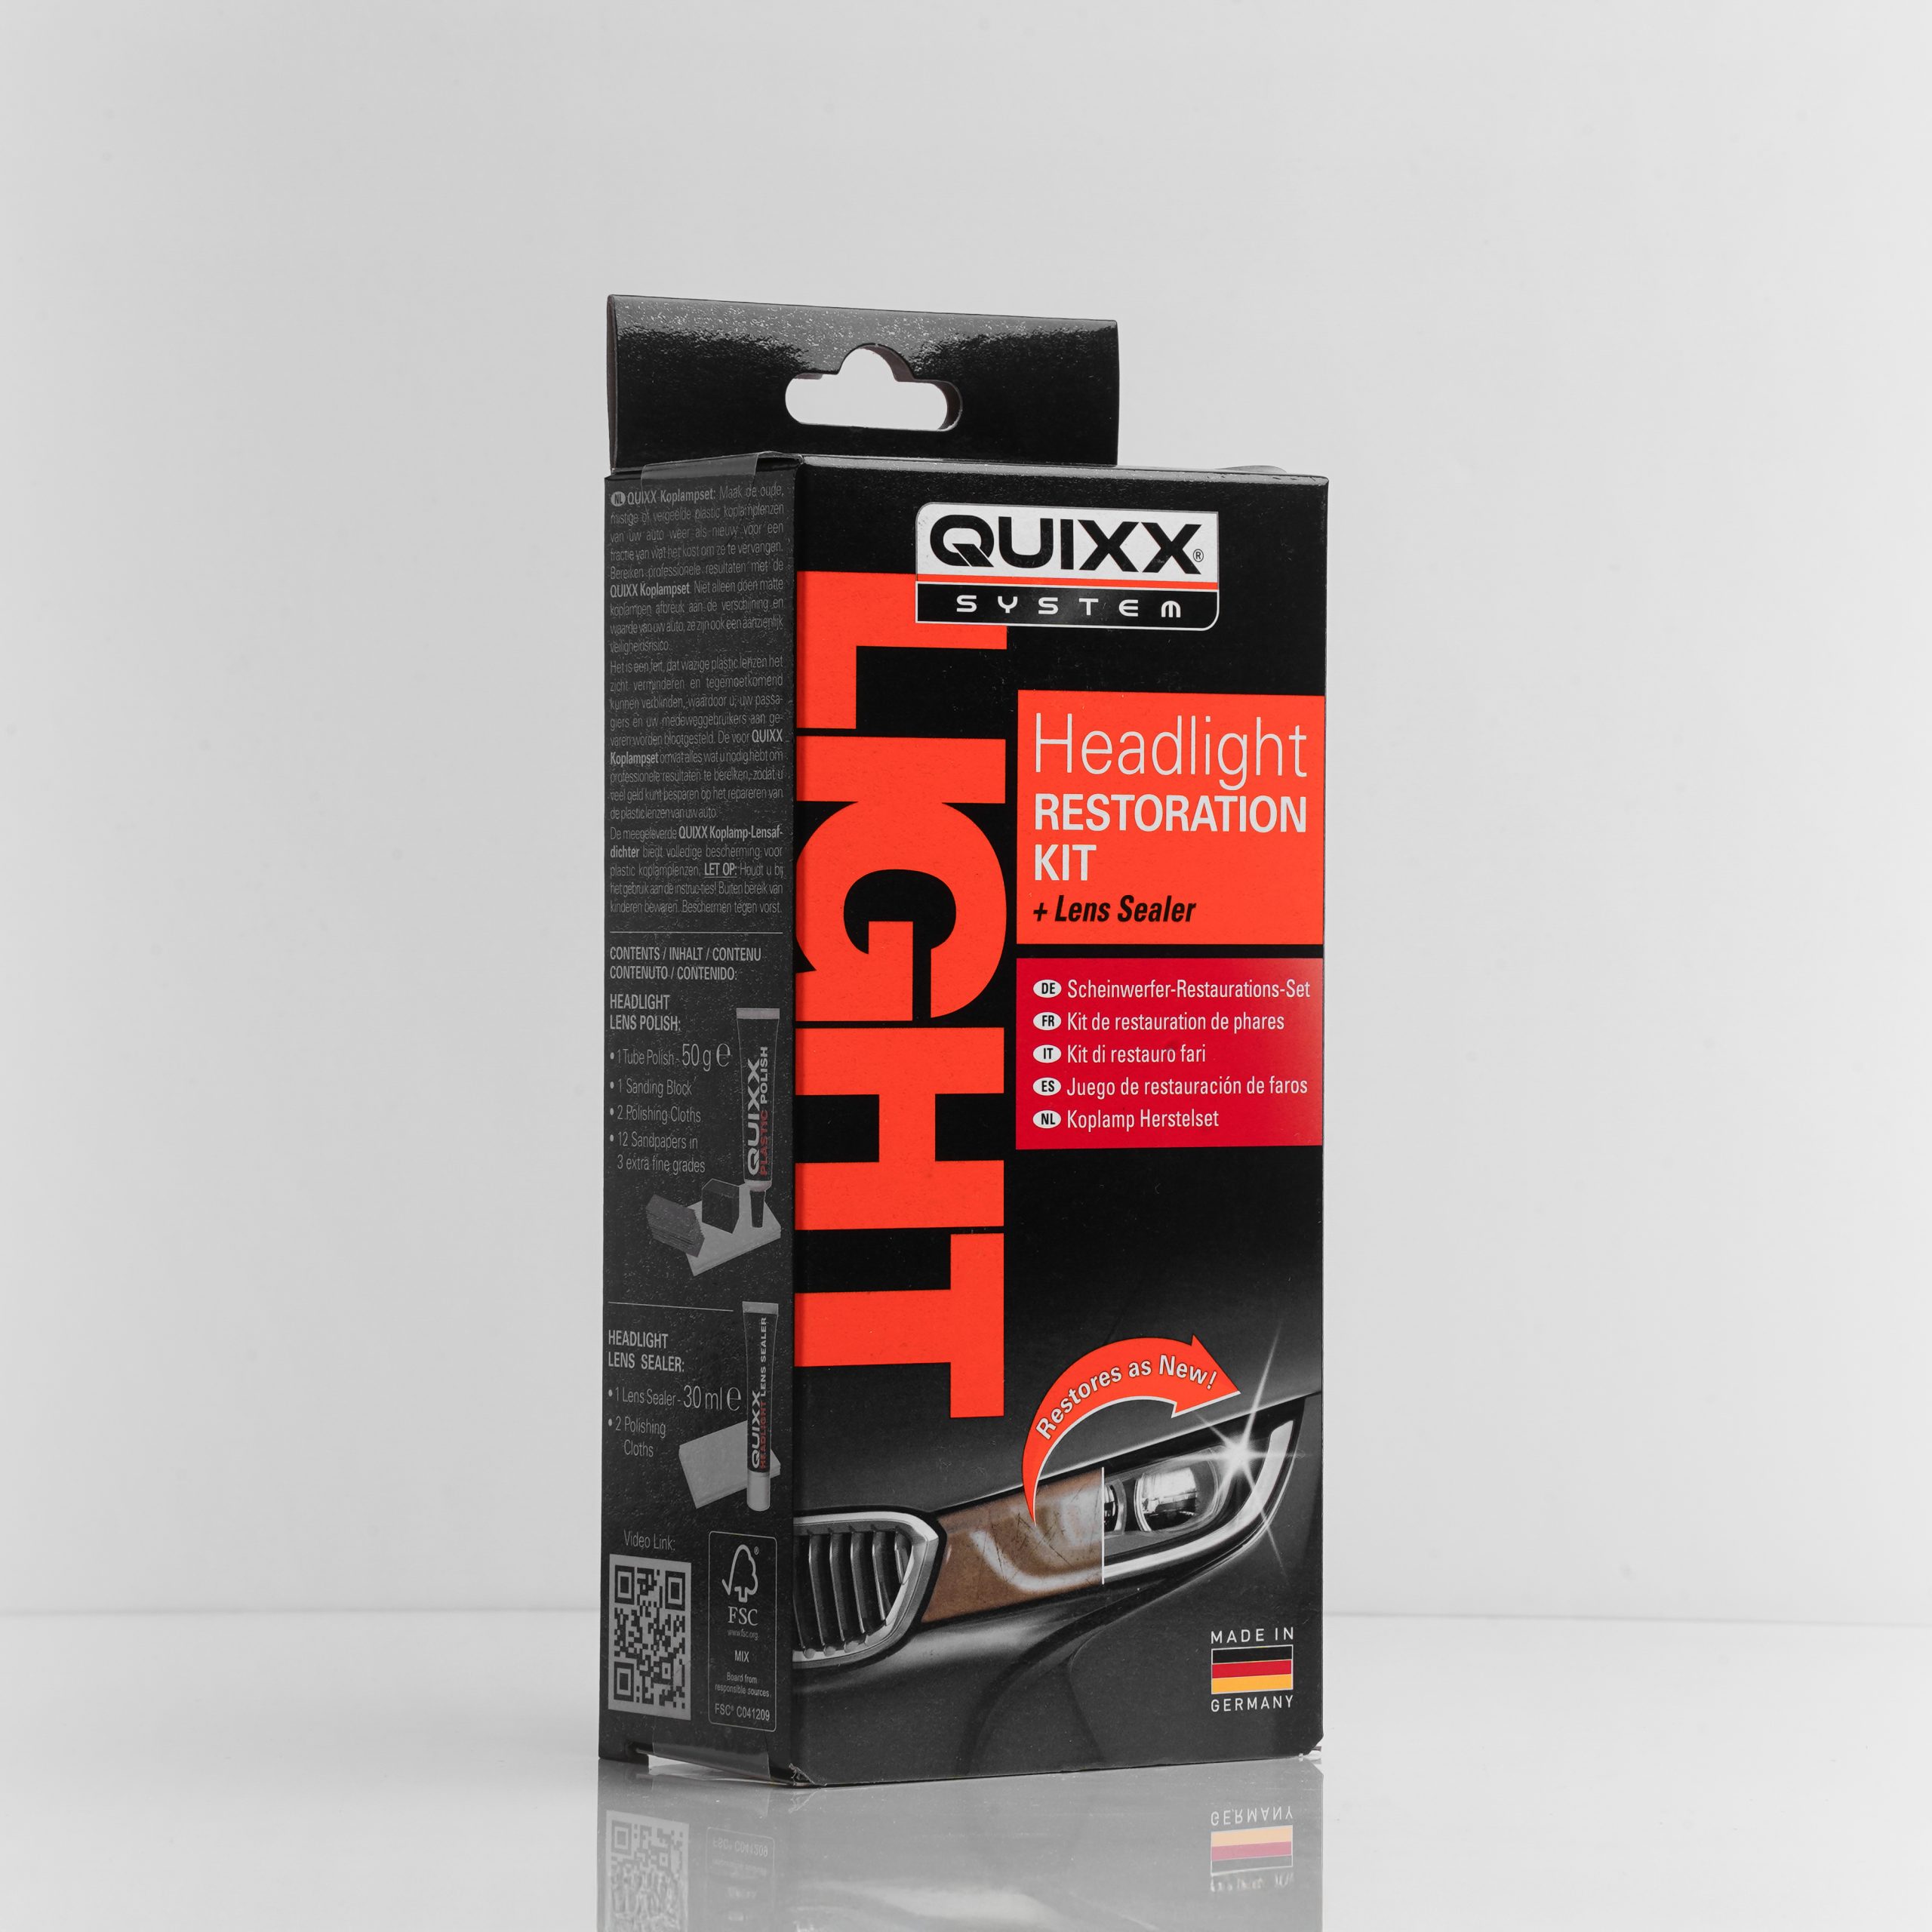
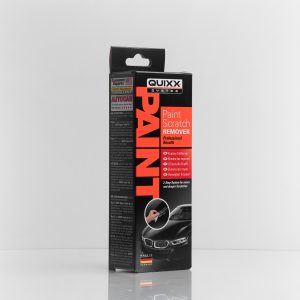
With the QUIXX Headlight Restoration Kit you can effectively restore your headlights: when sun, dirt, acid rain and salt cause plastic headlight lenses to turn yellow, cloudy and even prevent proper function you can turn to the Quixx Headlight Restoration Kit to fix it. This cloudiness drastically reduces the brightness of the headlights, making it danger to drive at night as any restriction of the driver’s ability to see and to be seen is a risk to all road users.
This kit consists of a polish and sealer that quickly restore your headlights to clear and bright.
Product details:
- Removes yellowing, matt spots and slight scratches
- Simple, fast and effective application
- Restores luminosity to the headlights increasing driving safety (ability to see and to be seen)
- Provides a long-lasting protective layer (with an additional UV protector against yellowing)
- Improves the appearance and therefore maintains/ increases the value of the vehicle
- Avoids expensive repairs
- Professional quality results
- The all-inclusive kit contains all the utensils you need for making repairs.
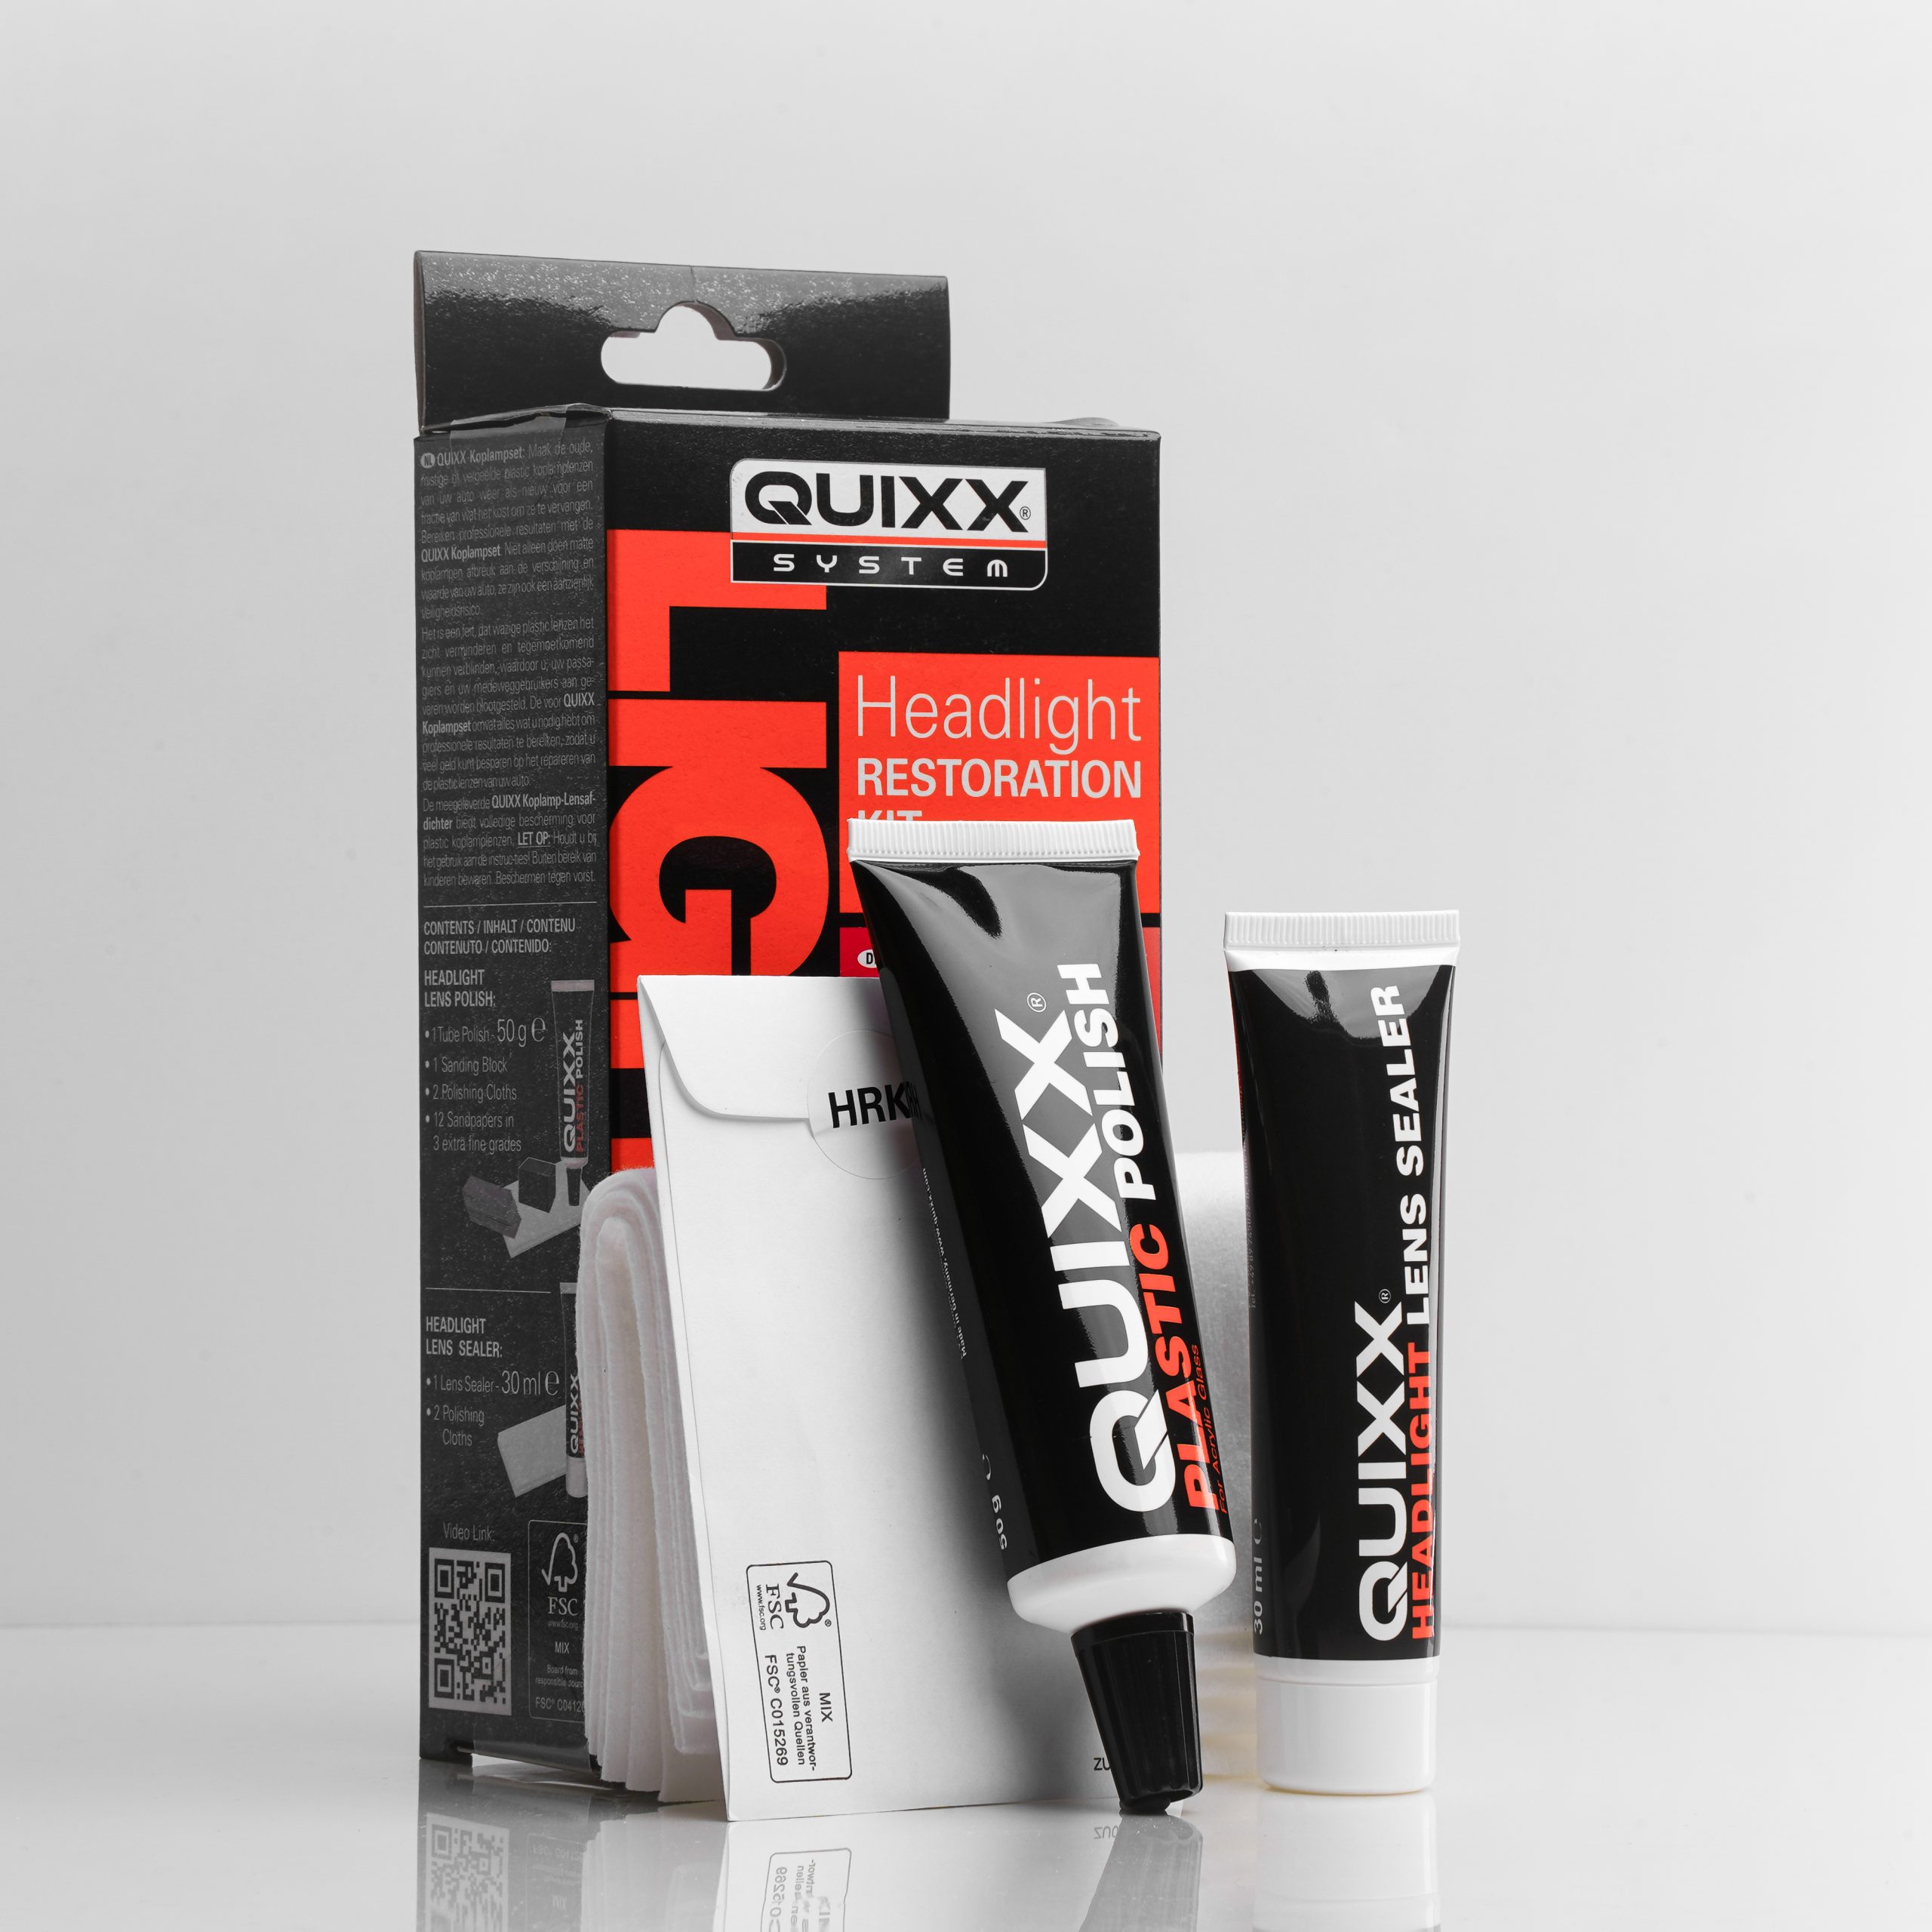
What’s in the Box?
- Quixx Plastic Polish
- Quixx Headlight Lens Sealer
- 4 x 2000 Grit, 4 x 3000 Grit, 4 x 5000 Grit Sandpapers
- 4 x Professional Polishing Cloths
- 1 x Sanding Pad
- 1 x Guide
Application
Application
A) Preparation:
1. Wash headlights thoroughly to remove dirt.
2. Mask the complete area around the headlight lens with a broad adhesive plastic tape to protect it from any treatment.
B) For lightly damaged headlights and light yellowing:
1. Apply a little polishing paste onto the headlight lens and polish with the polishing cloth. Apply more pressure and polish quicker to speed up the polishing process.
2. If the lens is in bad condition and did not come clean with just the polish, then proceed to step C.
C) For heavily marred lenses:
1. Wrap the 2000 grit sandpaper around the rubber block. Dip into water and wet-sand the headlight lens with horizontal movements until major imperfections are no longer visible.
It should be all uniform and make sure you have sanded the headlight evenly. Keep dipping the sandpaper and block into water to clean sandpaper off. If the sandpaper becomes clogged and you cannot clean it with water alone change to a new piece of sandpaper.
Remove wet sanding residue with a cloth.
2. Wrap the 3000 grit sandpaper around the rubber block. Dip into water and wet-sand the headlight lens with vertical movements and water until smaller imperfections from the 2000 grit sandpaper are no longer visible.
It should be all uniform and make sure you have sanded the headlight evenly. Keep dipping the sandpaper and block into water to clean sandpaper off. If the sandpaper becomes clogged and you cannot clean it with water alone change to a new piece of sandpaper.
Remove wet sanding residue with a cloth.
3. Wrap the 5000 grit sandpaper around the rubber block. Dip both into water and wet-sand the headlight lens with horizontal movements and water until the surface is smooth, even and you have removed the marks from the 3000 grit sandpaper.
It should be all uniform and make sure you have sanded the headlight evenly. Keep dipping the sandpaper and block into water to clean sandpaper off. If the sandpaper becomes clogged and you cannot clean it with water alone change to a new piece of sandpaper.
Remove wet sanding residue with a cloth.
4. Apply Quixx Plastic Polish onto the headlight lens and polish it to mirror finish by using the polishing cloth with vertical movements. Apply more pressure and polish more quickly to speed up the polishing process.
NOTE: for lenses that are extremely faded and oxidized it is recommended to also purchase our extra sandpaper add on. This add-on kit includes a 400, 800 and 1200 grit wet and dry sand-paper. This ensures you will get the best results with your repair.
D) Protect, Seal and Maintain with Quixx Headlight Lens Sealer:
1. Clean the headlight lens thoroughly.
2. Apply a small amount of Quixx Headlight Sealer to a polishing cloth and distribute evenly over the headlight.
3. Allow the sealer to dry to a haze (about 5-10 minutes).
4. Buff the lens to a high gloss with a clean cloth.
5. For maximum protection repeat application of Sealant every 3-6 months. If you forget to do this and your headlights start oxidizing don’t worry! You will only need to polish it and then reseal as you have already created a flat base from your sanding, the oxidization will be minimal and only surface.