This is a comprehensive guide on how to glue acrylic with best industry practices and techniques from the manufacturers of adhesive with over 25 years of industry experience.
Acrylic also known as PMMA or referred to as Perspex ®, Plexiglass ® or Acrylite ® is a clear, durable thermoplastic commonly used in fabrication of Signage and Displays, Retail Point of Sale, Aquariums, Art and other industry fabrication.
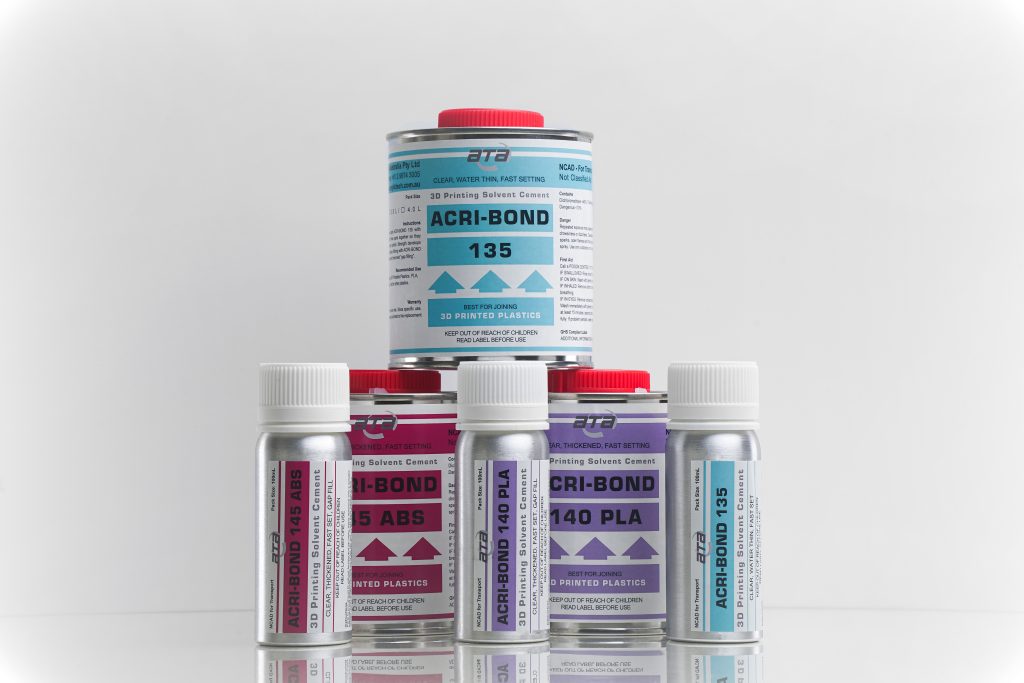
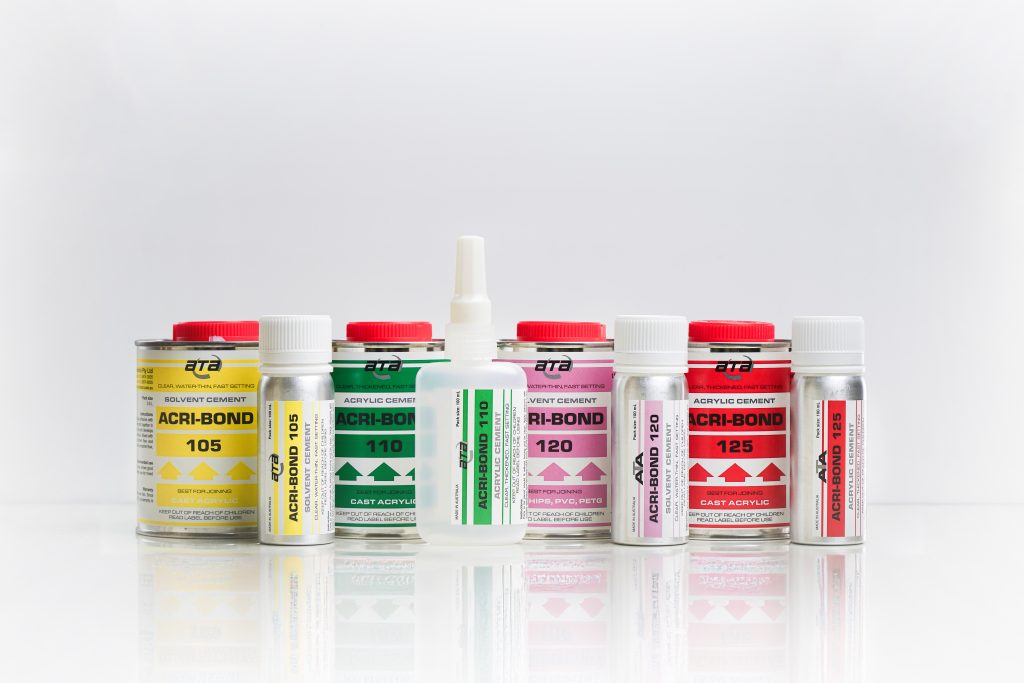
There are a few different ways to effectively bond Acrylic to itself, but not much can beat the low cost, clarity and reliability of using solvent adhesives like ACRI-BOND 105, ACRI-BOND 110 and ACRI-BOND 125. Understanding how to glue acrylic with these products can make all the difference in your final bond.
If this is your first time, you might have tried widely available super glues, epoxies, or silicones and gotten mediocre results at best. It’s a common first step, most people reach for what’s easily available at the hardware store. These adhesives aren’t designed for acrylic’s unique properties and can lead to frustrating results like foggy joints, cracking, or weak bonds. If you’ve tried to glue acrylic before and it didn’t work out, you’re not alone it’s a tricky material unless you’re using the right adhesive and methods.
The good news is that solvent bonding, when done properly, delivers professional, clean, and strong results that look like the pieces were made that way to begin with.
What is Solvent Bonding?
Solvent Bonding also known as Chemical Fusing or Solvent Welding is a method of joining plastics, like acrylic, by using a solvent adhesive that softens the material allowing the two pieces to fuse at a molecular level. As the solvent evaporates, the acrylic will harden again, leaving behind a permanent, clear, seamless bond.
Unlike using conventional adhesives which rely on the adhesive layer sticking to the surface of each material. Solvent adhesives once applied and allowed to bond; they evaporate and are not left behind. Meaning there is no 3rd party holding the two surfaces together, it is just the plastic itself that is left after the joining process.
Choosing the correct solvent adhesive for your job.
There are two types of Solvent Adhesives available to use and it depends on your job application and preferences. We will go through both below.
Water Thin Solvent Adhesives
Water Thin Solvent Adhesives like ACRI-BOND 105 are the most commonly used solvent adhesives in the industry. This is due to how they are used as it allows users to fully set up a job then apply adhesive.
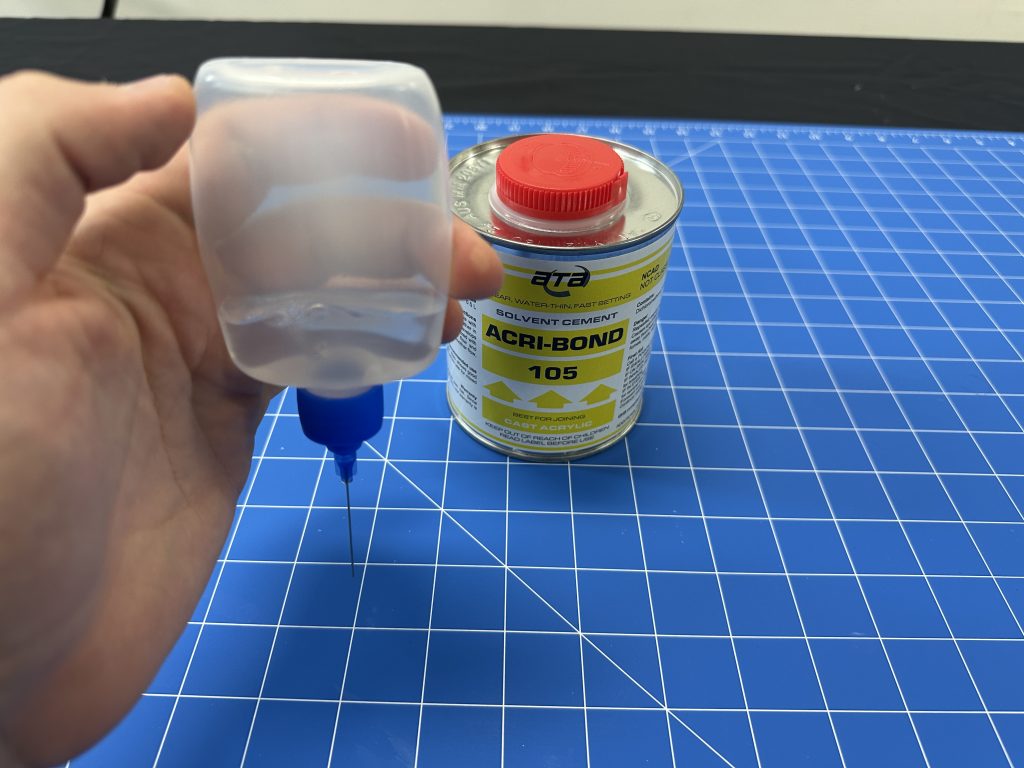
Thanks to its ultra-low viscosity, ACRI-BOND 105 is drawn into joints by a capillary effect. This means you can position your acrylic parts first, then apply adhesive to the edge. The adhesive will wick into the joint, ensuring an even distribution and minimal mess.
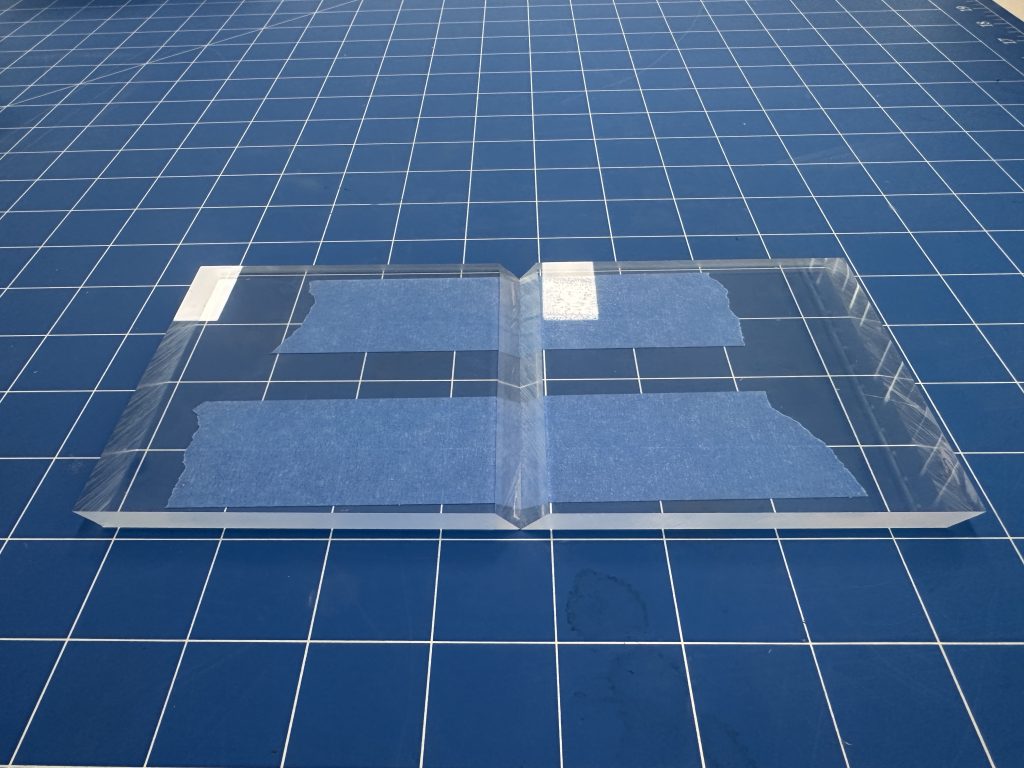
The photo below is a demonstration for how the capillary effect works when gluing acrylic. Even though a lamination is not a common joint it is a good way to demonstrate how the capillary effect works.
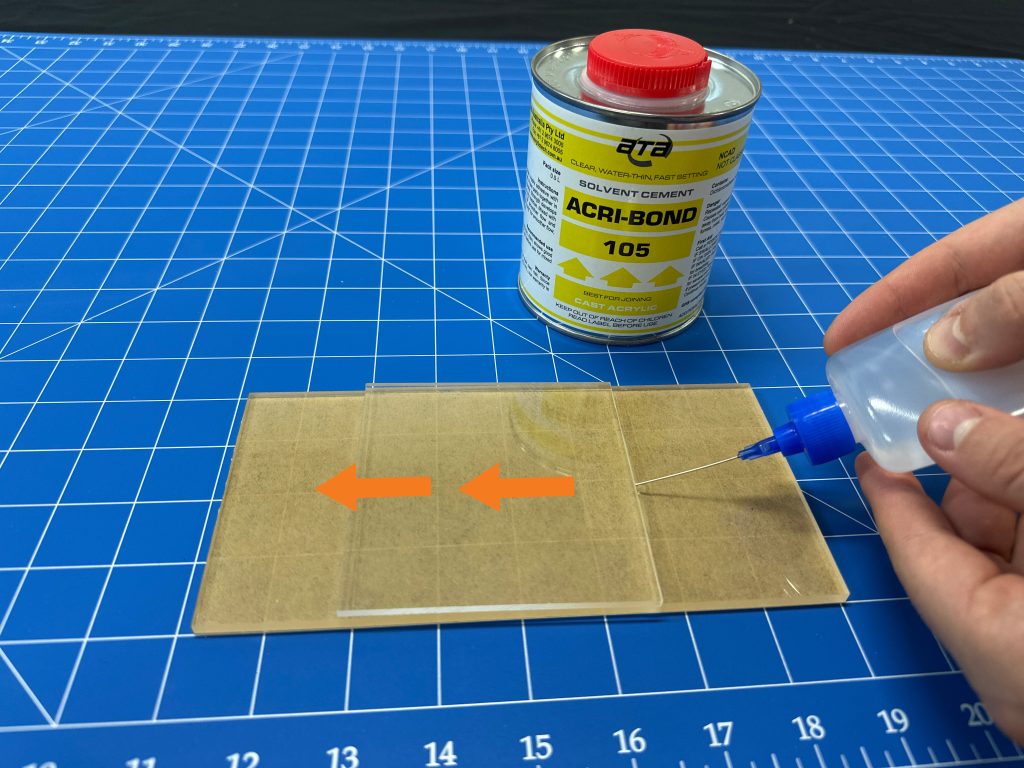
See the photo above for a visual representation of how to glue acrylic using the capillary effect.
Water-thin solvent adhesives have little to no gap filling capacity and require good tolerances for a perfect and seamless joint.
Thickened Solvent Cements
Thickened Solvent Adhesives like ACRI-BOND 110 and ACRI-BOND 125 are also widely used in the plastic fabrication industry. These adhesives are thickened for ease of use and gap filling.
The processes of using a thickened solvent cement is more similar to using conventional adhesives. They are thickened, a syrupy consistency, and will not run everywhere when applied as they have “body” to them.
ACRI-BOND 110 or ACRI-BOND 125
ACRI-BOND 110 is the slower-setting option, giving you more working time and making it more forgiving. Ideal for beginners or quick, small jobs where precision is less critical.
ACRI-BOND 125 on the other hand, sets faster, making it perfect for industrial or commercial use where speed matters. It’s a great choice when you’re confident in your setup and ready to take your thickened solvent bonding to the next level. Thanks to its fast evaporation rate, ACRI-BOND 125 is also less prone to trapping bubbles. Provided you’re following the correct techniques for how to glue acrylic cleanly and effectively.
They both offer similar bonding strength and gap filling capacity. The easiest way to choose between the two is whether you prefer a faster working time or a slower one.
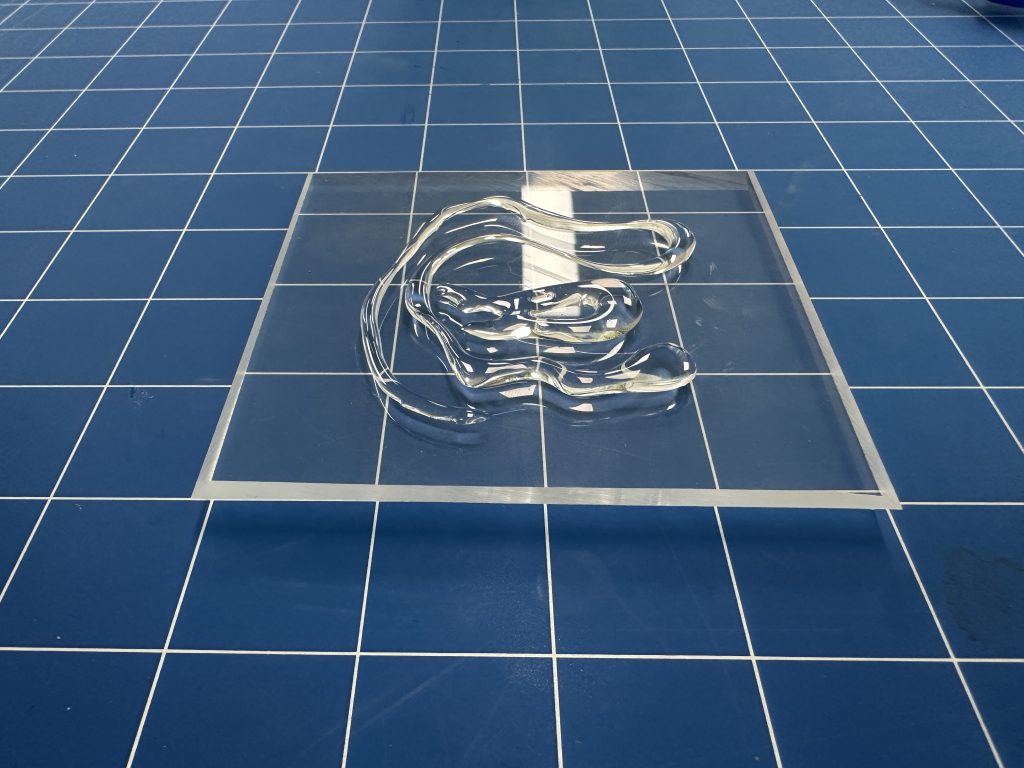
See image above for demonstration of Thickened Adhesive Viscosity
How to Glue Acrylic Using Solvent Adhesives
To make things as easy as possible, we’ve highlighted the steps that differ when learning how to glue acrylic using a thickened adhesive compared to a water-thin one.
Set up your workspace
Before you begin learning how to glue acrylic, it’s important to set up a workspace that’s both safe and suitable for solvent adhesives. Start by ensuring the area is well-ventilated solvent fumes can build up quickly, so open windows or use an exhaust fan if working indoors.
Choose a solid, non-reactive work surface like metal, or sealed wood. Avoid working directly on surfaces made of plastic, glass, or untreated MDF, as the solvent adhesive can damage the surface. To protect your bench further, place a HDPE sheet on top of your bench this material resists solvent adhesives and makes cleanup easier.
A tidy, well-prepared workspace not only improves safety but also leads to better, cleaner bonding results, especially when working with clear acrylic where every detail shows.
Inspect your Acrylic
Check all bonding edges for chips, cracks, burrs, or uneven cuts. These imperfections can cause gaps in the joint, which may weaken the bond as solvent adhesives work best on clean, tight-fitting surfaces. Unlike thickened adhesives that offer gap filling, water thin solvent adhesives don’t fill voids they rely on smooth contact between the two surfaces to chemically fuse the acrylic.
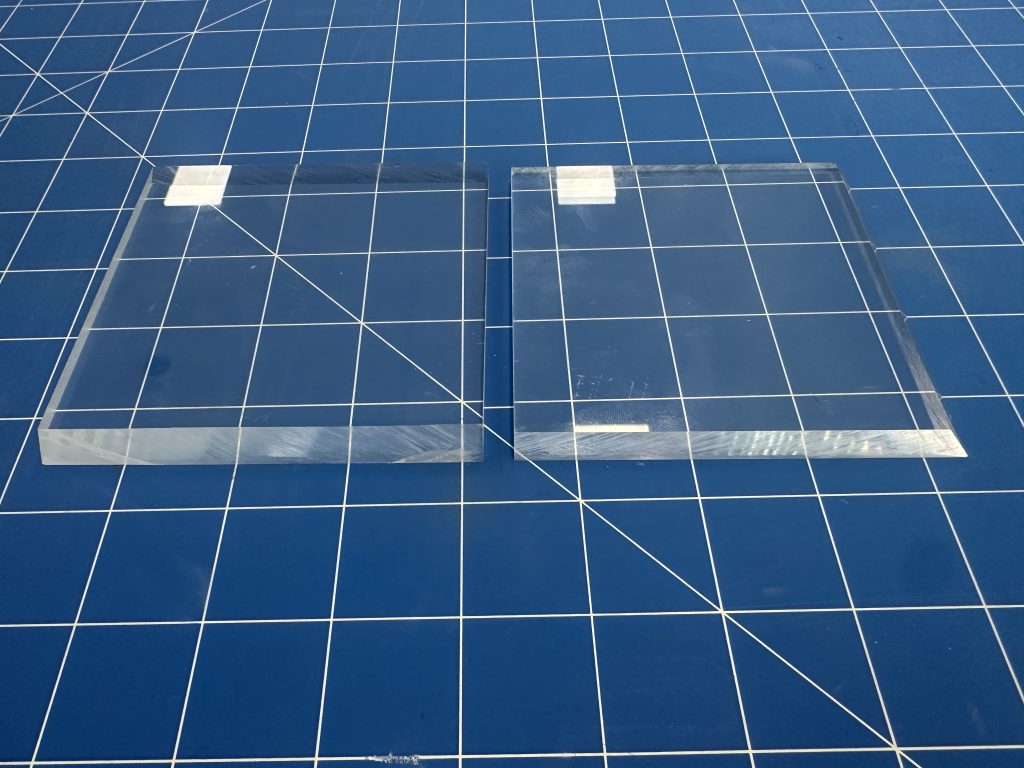
See left rough saw cuts (in corners), See right no visible issues (saw cut)
Fixing Rough or Damaged Edges
If needed, use a router or fine-grit sandpaper to even out rough edges. However, avoid over-sanding or rounding off corners, the bond is strongest when the edges are flat and square. For best results, try to work with saw-cut acrylic or router edges on bonding surfaces, as they offer the right texture and squareness for solvent welding.
Clean your Acrylic
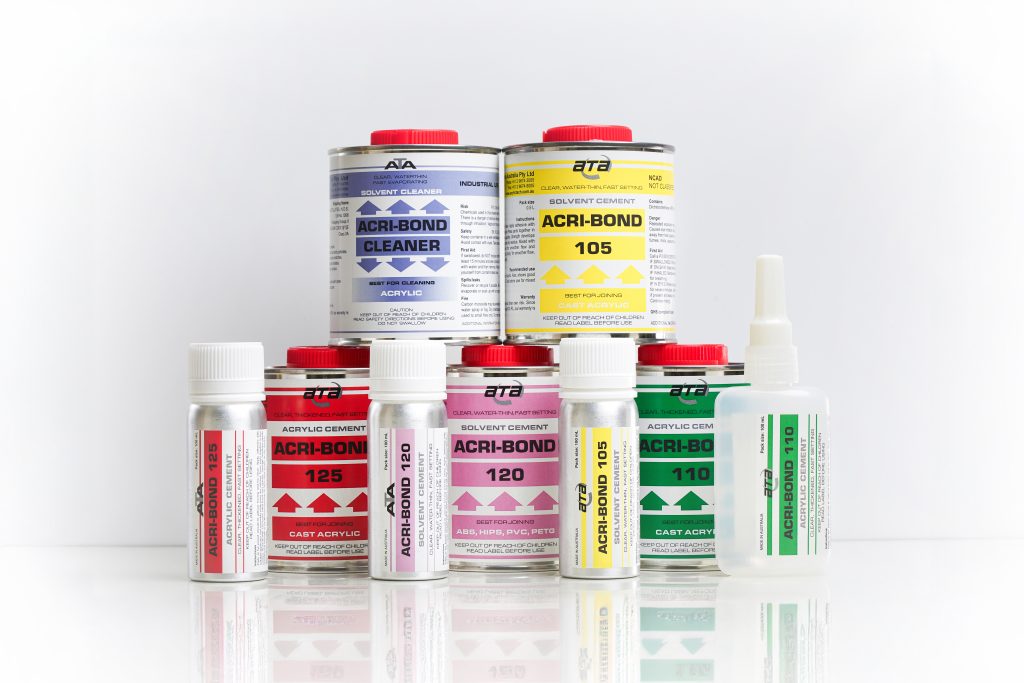
Before gluing, all bonding areas should be thoroughly cleaned and dried. Remove any dust, dirt, fingerprints, or oil, as these can interfere with the bonding process. For the best results use ACRI-BOND Cleaner, which is a fast evaporating solvent cleaner which will not damage the acrylic surface but will effectively clean and degrease its surface.

Suitable Solvent Cleaner for Acrylic
Dry Fit your Acrylic (Water-Thin ACRI-BOND 105)
Position the acrylic pieces exactly how you want them bonded. Once aligned, secure the parts using clamps, right-angle jigs, tape, wooden blocks or your chosen method to hold the pieces in place.
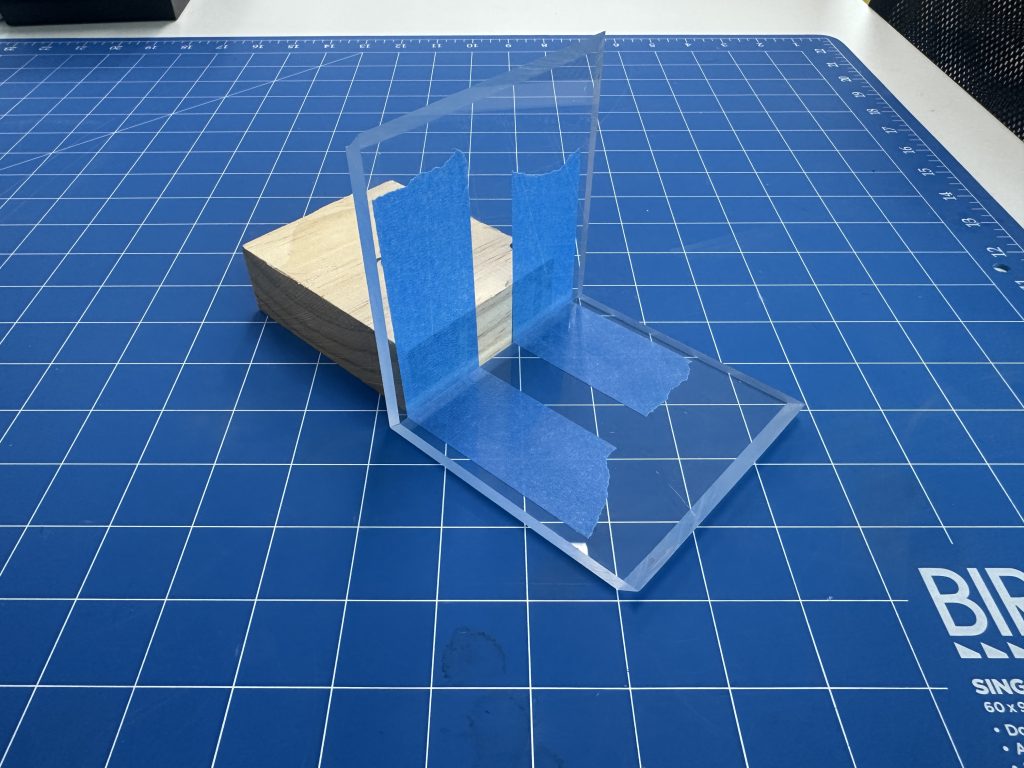
Acrylic Dry Fit – Ready for Water Thin Adhesive
Dry Fit your Acrylic (Thickened ACRI-BOND 110 or 125)
Position the acrylic pieces how you want them bonded but do not set up the job, this will be done after you apply the adhesive.
Acrylic Dry Fit – Ready for Thickened Adhesive
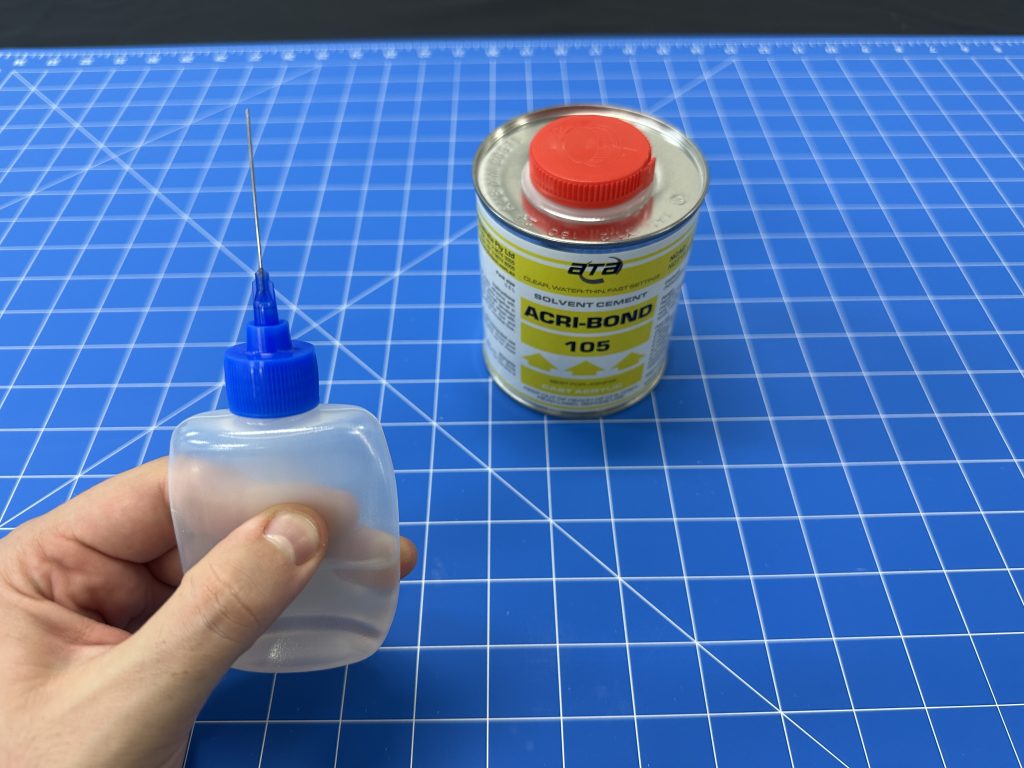
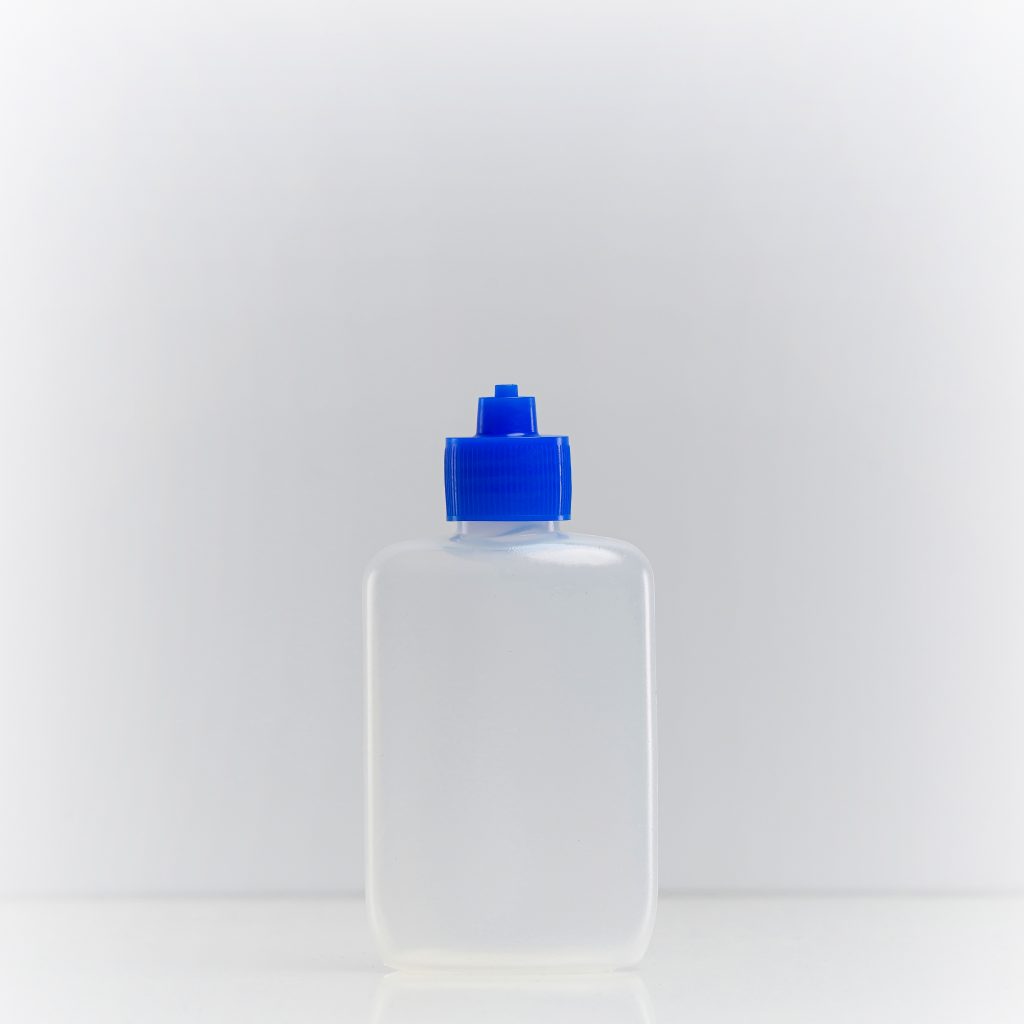
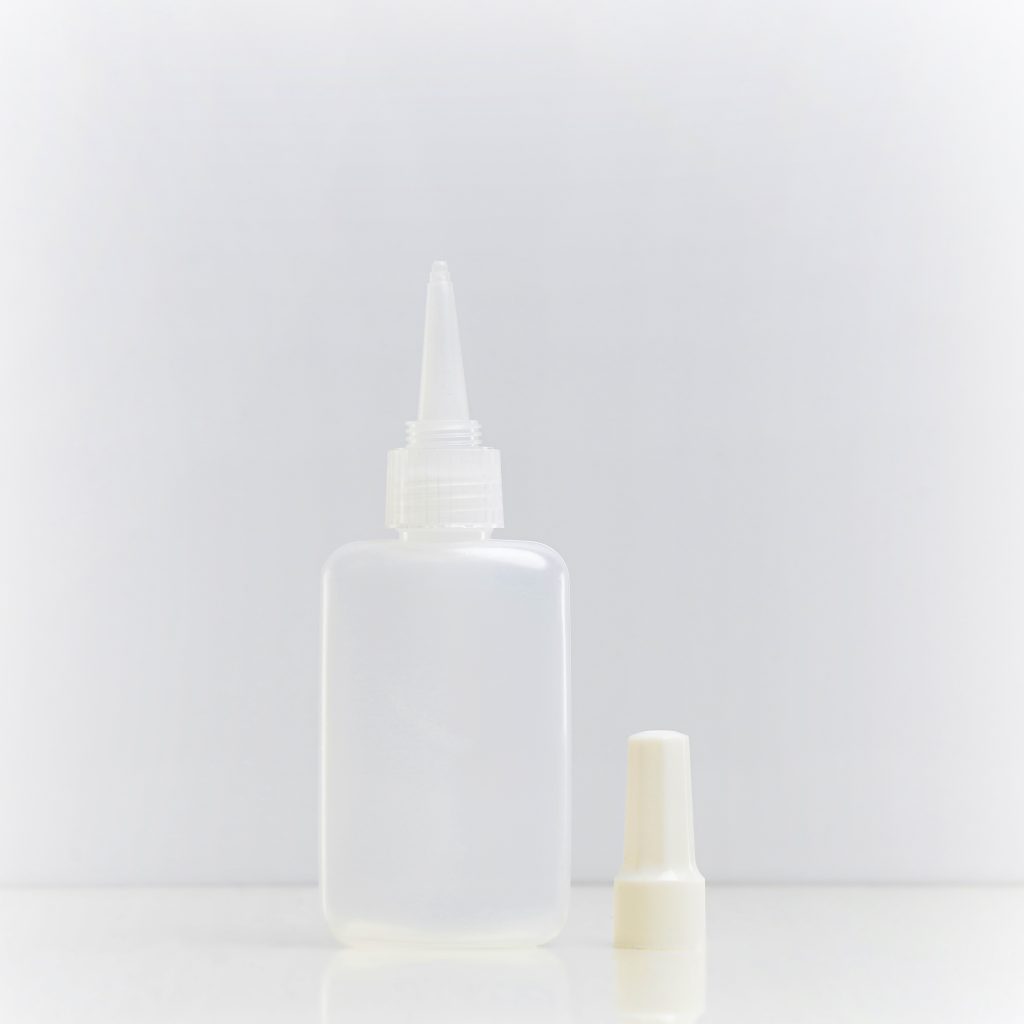
Prepare the Applicator
Fill the applicator bottle to about 50% capacity, this allows some room for air in the top to create a vacuum effect and gives you better control during use. Once filled, securely attach the needle-tip cap and gently squeeze the bottle to expel any trapped air with the vacuum effect technique explained below.
The needle tip is essential as it provides precise control and prevents overuse of the adhesive.
Applying the Adhesive (water-thin ACRI-BOND 105)
With the applicator bottle ready, position the needle tip at the furthest point of the joint, where the two separate acrylic pieces meet. Gently squeeze the bottle while pulling the tip slowly along the joint.
The adhesive will naturally wick into the seam via capillary action (also known as capillarity or wicking). Maintain a steady, continuous motion to ensure even glue distribution and a clean finish. Avoid stopping and restarting mid-joint, as this can cause visible build-up, air bubbles, or uneven flow.
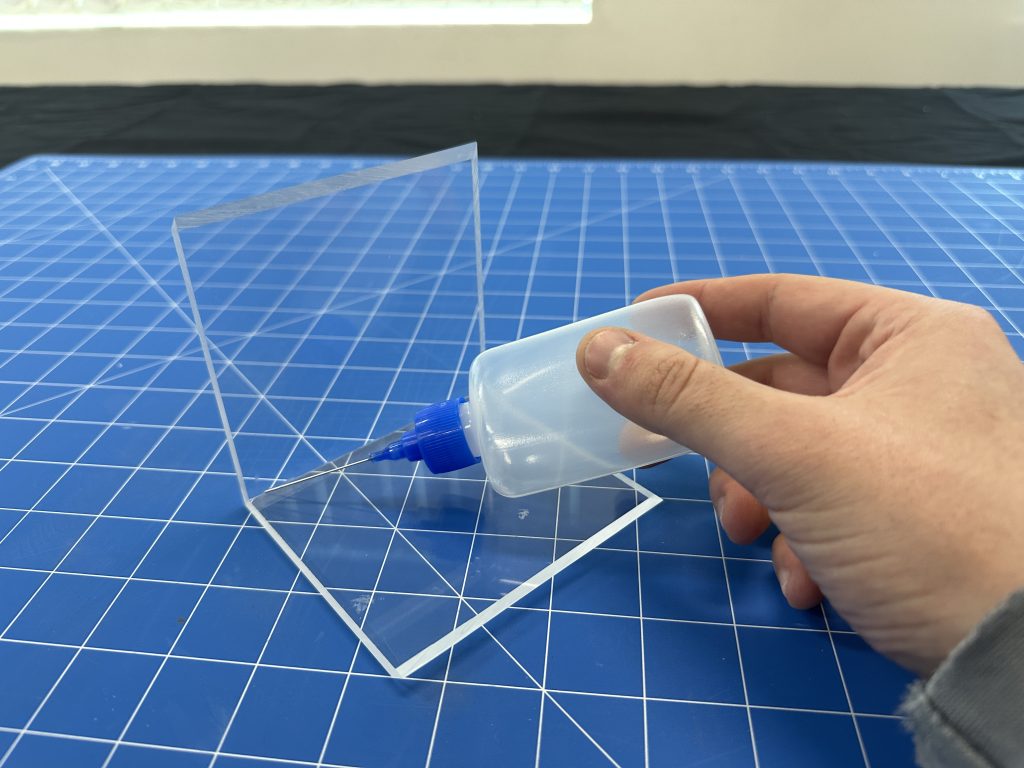
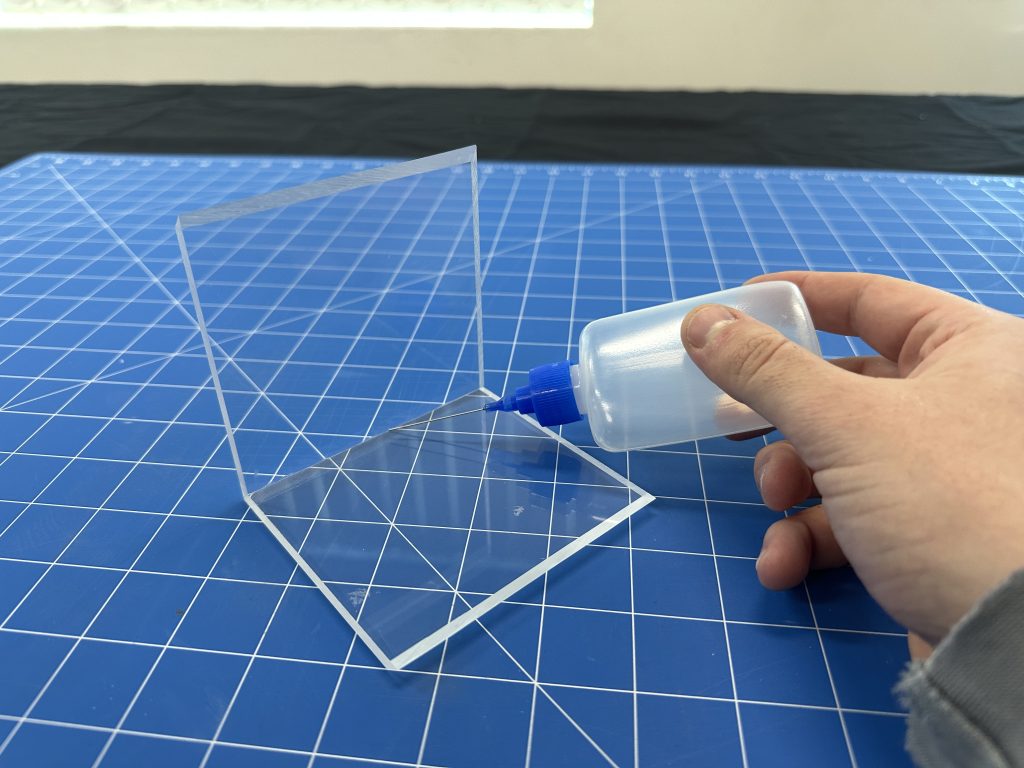
Demonstrating how to glue acrylic with Acri-Bond 105
How much adhesive applied depends on the thickness of the acrylic. Avoid overusing as it can result in build-up on the surface of the acrylic which is not desired. Also make sure enough adhesive is used to create a seamless joint. Only a small amount of adhesive should come out of the other side.
You will notice with thicker acrylic 10 mm and above water thin adhesives will need some help to make it all the way through the joint. This is because of their rapid bonding time – the adhesive is bonding the acrylic faster than it is passing through the joint to evenly distribute it. We recommend the use of Additive N or a capillary activator but more on that below.
What to Do If Excess Glue Spills or Pools?
If too much adhesive is applied and it floods the surface:
Do not wipe it off while it’s still wet, we know it’s tempting, but this will smear and permanently mar the acrylic surface.
Instead, let the solvent evaporate naturally. Once dry, you can polish the area if needed. Solvent adhesives evaporate quickly, but rushing cleanup will cause more harm than good. Patience is key to a professional result.
NOTE: No extra strength is gained from reapplying the adhesive multiple times. Because it is not a conventional glue reapplying it may soften the bond that was already created.
Applying the Adhesive (Thickened ACRI-BOND 110 or 125)
Apply an even bead of adhesive along one of the bonding surfaces not both. Bring the two pieces together immediately after application (as soon as possible to stop adhesive from skinning) and lightly press the two parts together to help the adhesive spread and make full contact. You may find some adhesive will squeeze out, this is normal. Now clamp the two pieces together with your preferred technique to hold them in place during the fixture period.
How much adhesive applied depends on the thickness of the acrylic. Avoid overusing as too much excess adhesive can result in build-up on the surface of the acrylic which is not desired. Also make sure enough adhesive is used to create a seamless joint. Only a small amount of adhesive should come out on the inside of the job.

Demonstrating how to glue acrylic with Acri-Bond 110 and Acri-Bond 125
Curing Time
Once you have applied the adhesive you must let the acrylic fuse itself together before removing clamps or method of holding the job together. Think of it like the plastic is still “wet” and needs to “dry” where it becomes one piece. This process takes about 15-30 min depending on conditions. This is called working strength and ready to lightly use. It is still not ready for heavy loads or stress.
It takes 24-48 Hours for the joint to get to its full strength where it is as strong as the original acrylic when bonded correctly.
Most Common Acrylic Joints
Mitre
Mitre joints in acrylic involve joining two pieces cut at 45 degrees to form a clean corner. Often used in boxes, display cases, or high-end fabrication projects. This type of joint offers a seamless, professional-looking edge with minimal visible glue lines, especially when using clear acrylic. For best results, precision cutting is essential, and the joint faces should be flat and slightly textured (not polished) to allow solvent adhesives like ACRI-BOND 105 or 110/ 125 to effectively fuse the surfaces together. Clamping and proper alignment are key to ensuring a strong, crisp corner.
Demonstrating how to glue acrylic for a Mitre Joint
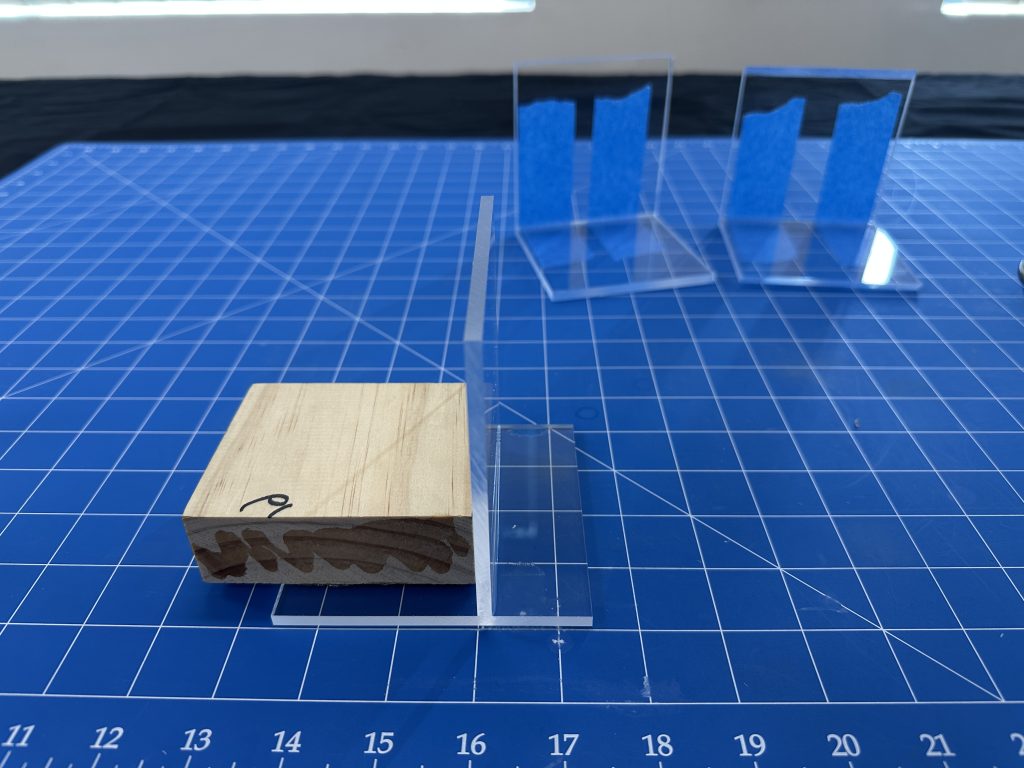
Butt Joint
Butt joints are the most common and straightforward way to join acrylic, where the flat edge of one piece is bonded directly to the face of another at a 90-degree angle. This method is simple to set up and works well for basic box structures, shelves, or sign assemblies. While not the strongest joint mechanically, a properly prepared butt joint with solvent adhesives like ACRI-BOND 105, 110 and 125 can create a clean, nearly invisible bond especially when edges are saw-cut or lightly routed for better adhesion. Accurate alignment, clamping, and edge preparation are important to ensure strength and clarity in the final result.
Demonstrating how to glue acrylic for a Butt Joint
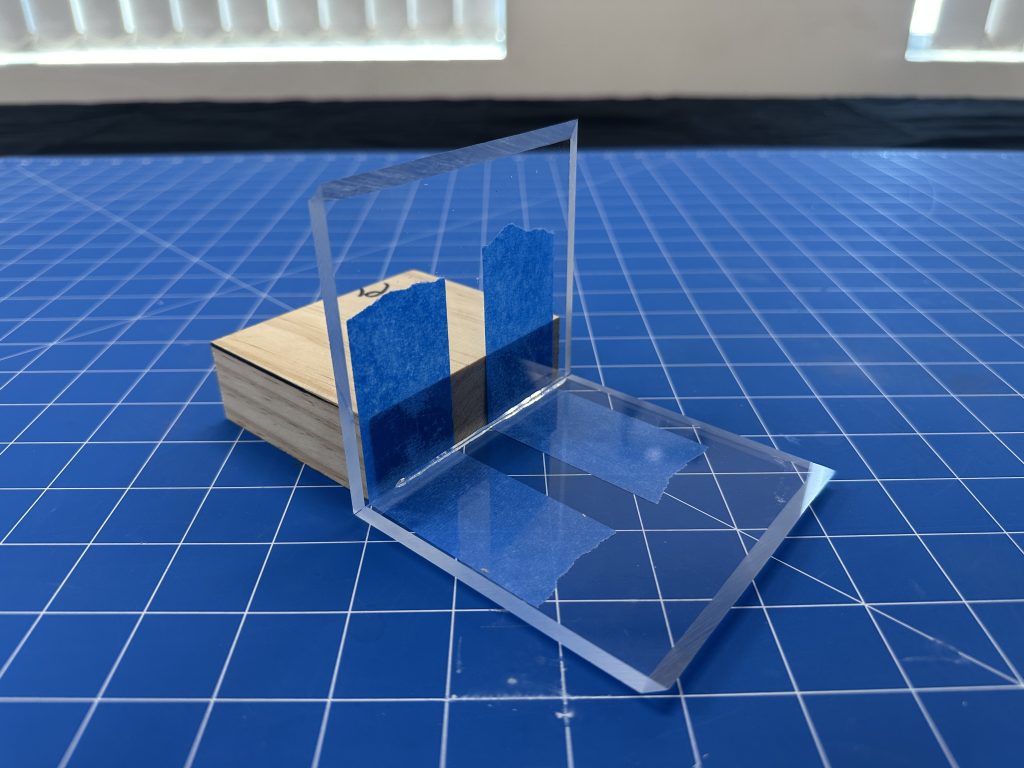
T Joint
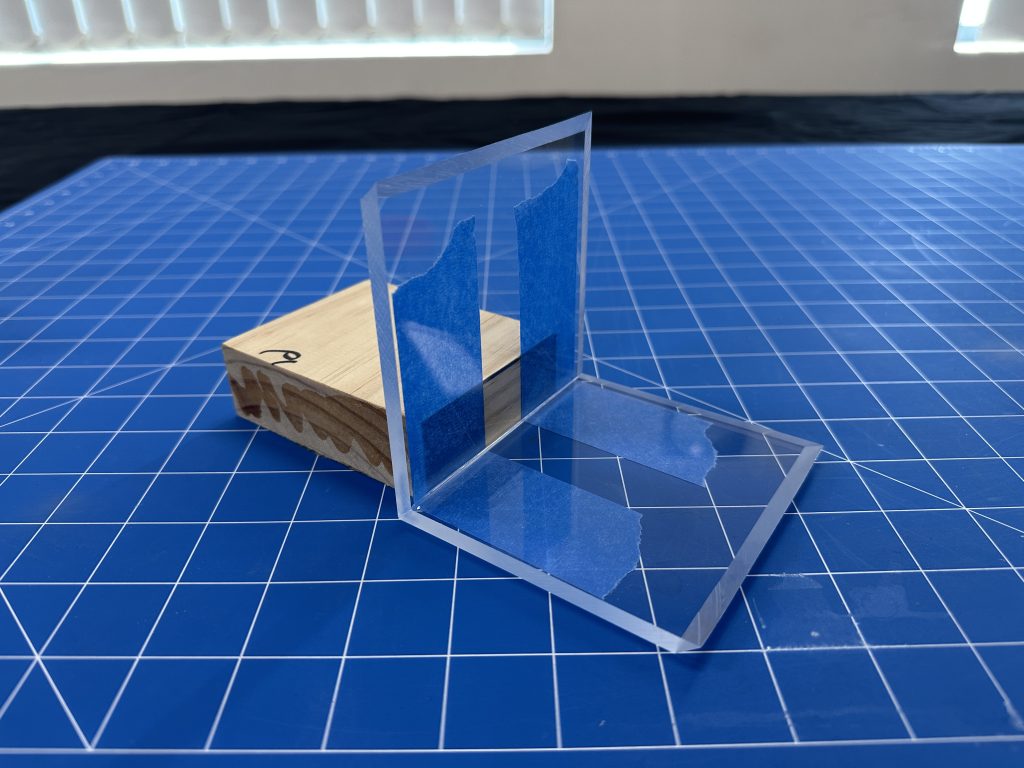
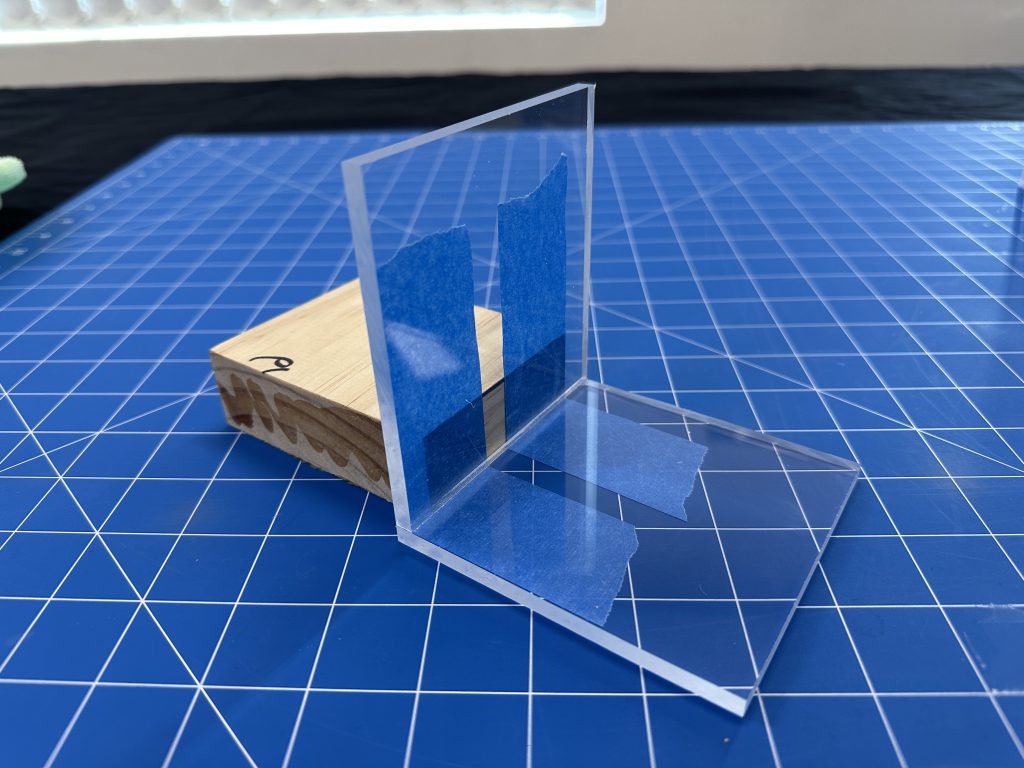
A T-joint is formed when one piece of acrylic meets and bonds perpendicularly to the middle of another piece, creating a “T” shape. While it might look similar to a butt joint at first glance, the main difference is in the placement. A butt joint connects edge to face at the corner, while a T-joint connects edge to face somewhere along the middle of a panel. T-joints are common in structures like shelves, sign holders, or stands where vertical pieces need to attach to a horizontal base.
Demonstrating how to glue acrylic for a T Joint
Face to Face/ Laminate
This joint is not very commonly used in standard acrylic fabrication or when using clear acrylic as it is very hard to get a perfect bubble free finish this way. It is more commonly used to attach two opaque acrylic surfaces together. Such as when making an acrylic sign. You can also apply a thickened solvent cement to the edges of a face to face joint. This will give the appearance that it is glued all the way through.
Tooling and Applicators
Water Thin Adhesives
Tooling
Water Thin Solvent Adhesives show excellent results when applied to edges that have been routed or cut with a saw blade specifically designed for acrylic. You don’t need ultra-precise machining or advanced tools, just the correct blade and some basic fabrication equipment. A clean, flat edge with a slight surface texture is ideal, as it allows the adhesive to flow smoothly into the joint and create a strong, seamless bond. With proper preparation, even simple tools can deliver professional results.
Applicators
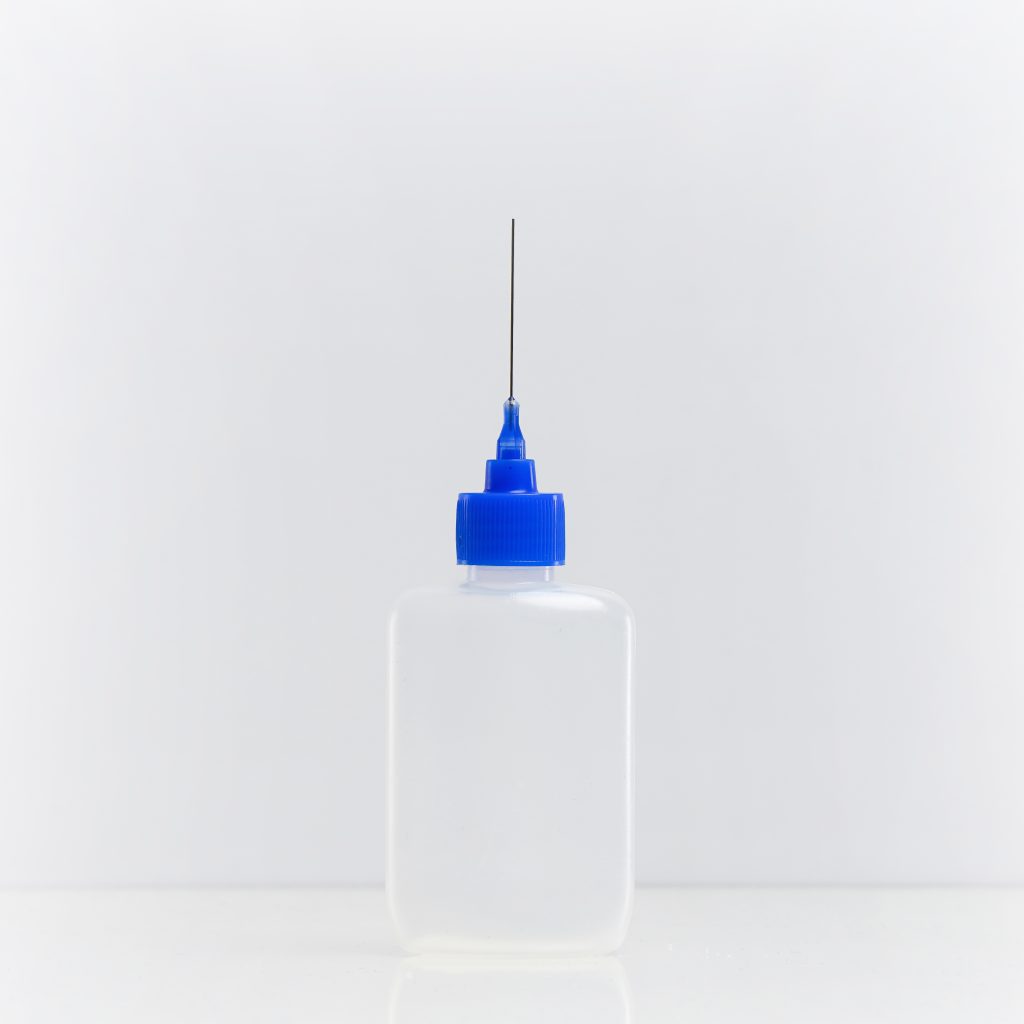
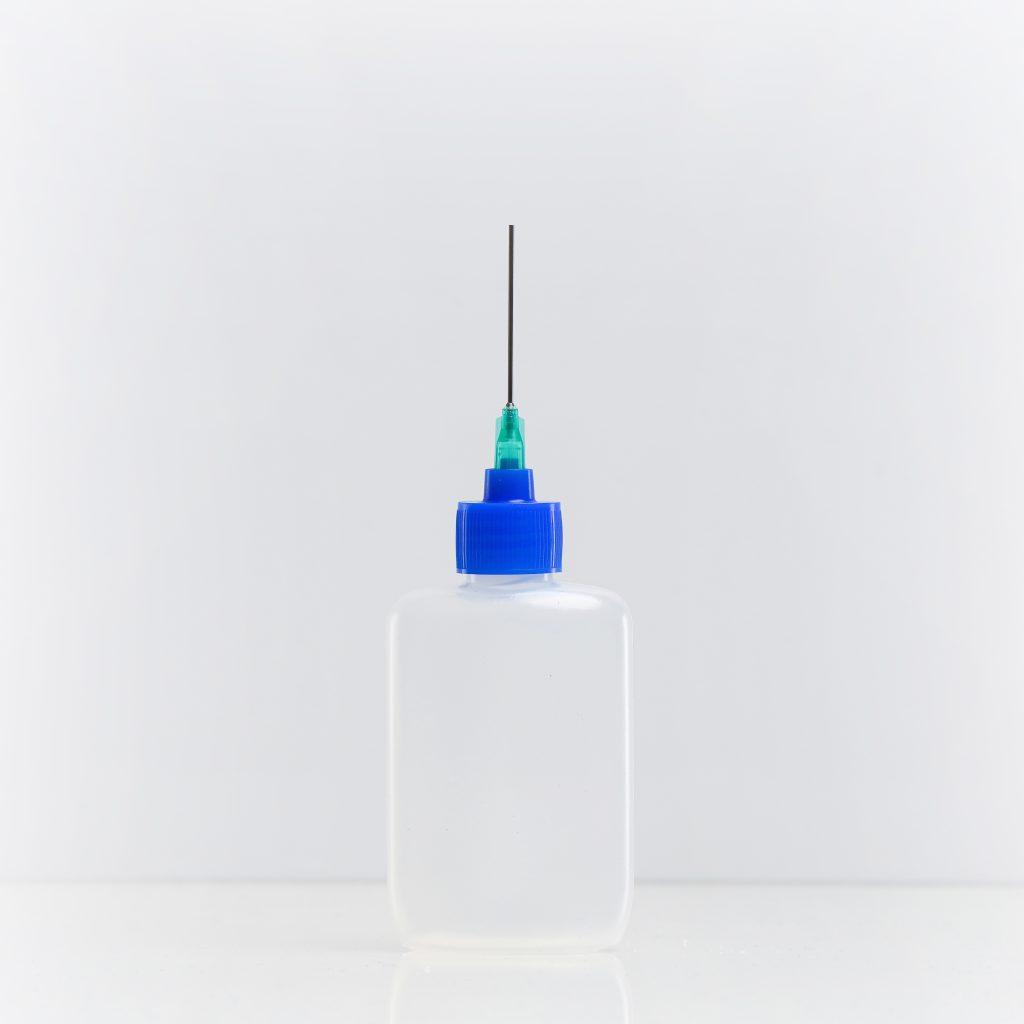
When learning how to glue acrylic by applying water thin adhesives like ACRI-BOND 105 there are two types of applicators for the best results. You can either use Applicator Bottles with Lure Caps or Applicator Syringes with Lure Caps. Both applicators require the use of a suitably sized Blunt Needle which screws onto the end of the Applicator.
Applicator Bottles with Lure Cap for Blunt Needles
Applicator bottles with lure caps are the most commonly used applicators for plastic fabricators. This is because they are very versatile, reusable and easy to use. This type of application technique will be the most familiar to what you are used to, once you move past the short learning curve. There is a technique to vacuum the bottle so adhesive only comes out when you apply pressure.
How to get a vacuum effect with the Applicator Bottles.
Simply press the middle of the applicator bottle together until you have expelled most of the air. Flip the bottle over (do this over an unimportant surface like a bench top as some liquid may leak out) and allow the bubbles to come to the top. Now no adhesive will come out unless you apply pressure to the bottle.
Demonstrating the applicator bottle vacuum effect which is best practice when learning how to glue acrylic.
Pros
- Versatile
- Reusable multiple times
- Easy and Familiar to Use
Cons
- Need to use Vacuum method for no drips
- Can drip slightly onto your surface
- Slight learning curve
Applicator Syringes with Lure Cap for Blunt Needles
The syringes are great to use too as they have a natural vacuum effect from their design so no adhesive will come out unless you start to compress the plunger. This makes them ultra precise and great for jobs where you need a small profile applicator and precision application of glue.
The only downside to the syringes is the rubber seals break down after a couple minutes, which also contaminates the adhesive. They are one time use only. So, unless the gluing portion of the job is fast or the job is ultra precise, we recommend to rather use the applicator bottles.
Pros
- Natural Vacuum Effect
- Cheap
- Widely Available
Cons
- One Time Use
- Potential Contamination of Adhesive
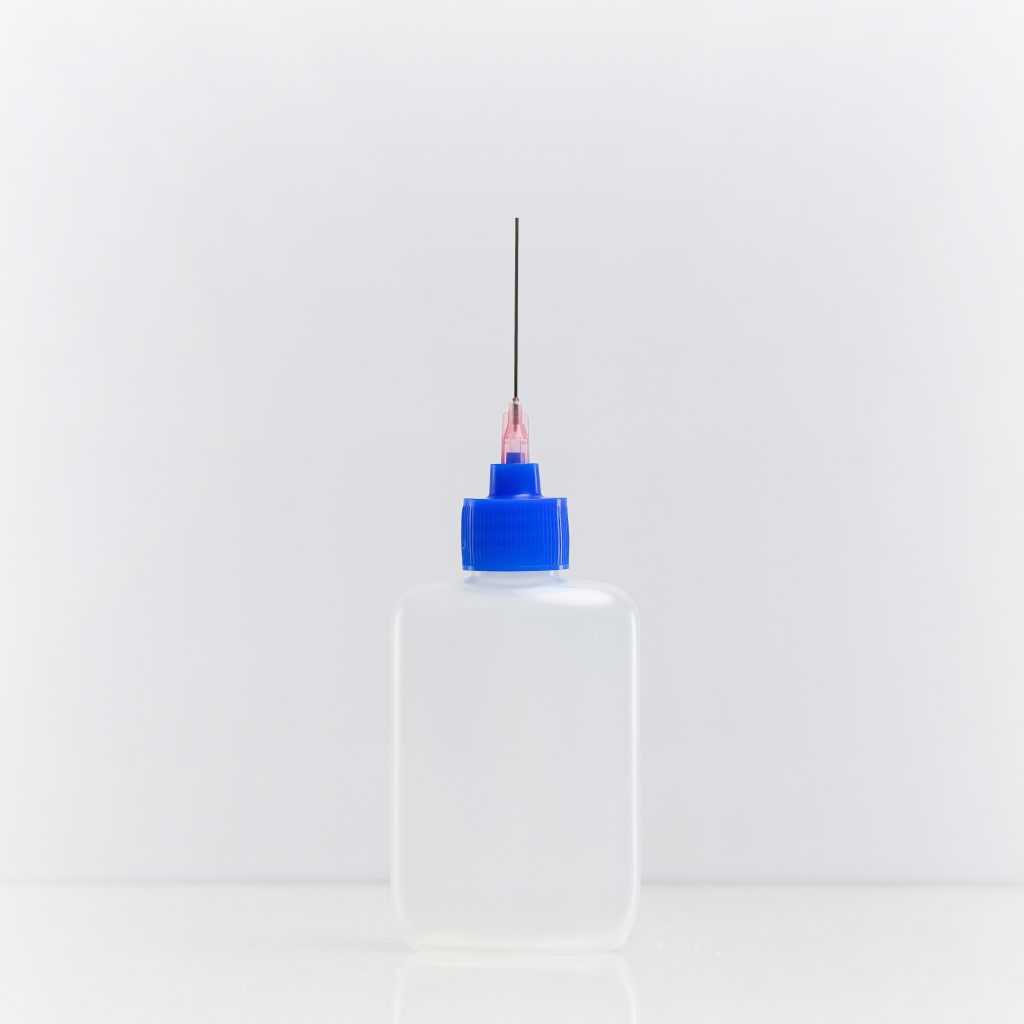
Blunt Needle Sizing
0.5mm (blue base) or 0.6mm (pink base) blunt needles are recommended for use. Due to the adhesive being heavier than water, it will tend to want to run straight out of the needle. Using a smaller needle like the 0.5mm or 0.6mm will reduce this drastically.
Thickened Solvent Cements
Tooling
Thickened Solvent Cements do provide some gap filling capacity; they still need decent tolerances otherwise a seamless bond will not be achieved. We recommend either a router edge finish or saw blade that is designed for acrylic.
Applicator Bottles
We recommend using applicator bottles to apply a thickened solvent cement. This will be for the best control and flow, as it is thickened needle sizing is up to preference.
Application is recommended either with the 65mL Applicator Bottles and Blunt Needles or directly out of 100mL Applicator Bottles with the nozzle cut to suit your preference.
Blunt Needle Sizing
0.8mm (Green base) or 1.4mm (Dark Green base) blunt needles are recommended for use. 0.8mm Needles will provide a very fine bead and 1.4mm Needles will provide more flow and should be used in more scenarios.

Tips to get perfect joints with solvent adhesives
Below are some tips from our years of experience working with plastic adhesives.
Use a Cleaner specified for acrylic cleaning
We recommend thoroughly cleaning all joint surfaces and surrounding acrylic using ACRI-BOND Cleaner. A fast-evaporating, solvent cleaner specifically formulated to remove dust, oils, and surface contaminants from acrylic before bonding. Proper surface preparation is essential for achieving high-clarity joints and maximum bond strength. Using ACRI-BOND Cleaner helps ensure a clean, residue-free surface, which noticeably enhances both the visual quality and performance of your adhesive bond.
Use the right equipment
For best bonding results, we recommend cutting acrylic with a suitable blade or refining the edge using a router. The bonding surface should have a slightly rough texture, this provides better mechanical strength for the adhesive to fuse the materials effectively. Avoid surfaces with visible grooves, chips, or bumps, as these imperfections may show in the final joint. Conversely, if the edge is too smooth such as a laser-cut finish it can reduce the adhesive’s ability to form a strong hold.
Additives and Capillary Activator
We offer two additives and a capillary activator to assist ACRI-BOND 105 in certain conditions.
Additive N
When fabricating with a thicker acrylic and Acri-Bond 105 you may find it does not capillary effect all the way through the joint. This leaves parts of the joint untouched by the adhesive and can be quite unsightly as there is a distinct difference of what has and hasn’t been bonded in the joint. This happens because Acri-Bond 105 is evaporating and fusing the acrylic together faster than it flows through the joint.
By using Additive N you are able to slow this down and allow the adhesive to flow more thoroughly through the joint before ACRI-BOND 105 will start to evaporate and bond the acrylic together.
Additive T
When fabricating with clear acrylic in a humid environment it can be a task in itself. Any little mistake like a droplet of adhesive falling onto the face of the acrylic will turn into a white haze. This is due to Acri-Bond 105 taking in moisture from the humid air when it is evaporating. Similar to if you blow on a droplet to attempt to dry it. You are able to sand and polish these haze marks out but you can also prevent them from even forming by using Additive Type T for Acri-Bond 105. This additive is designed for tropical climates and will reduce the chance of hazing not completely remove it.
Capillary Activator
Working with thicker acrylic joints? Sometimes Acri-Bond 105 doesn’t wick as easily as you’d like. That’s where Capillary Activators come in. Designed to help kickstart the wicking process, it draws the adhesive into the joint faster and more evenly. Just a small amount improves flow, reduces air bubbles, and helps achieve a clearer, stronger bond. It’s not always necessary, but when you need a little help getting perfect joints, it makes all the difference.
Perfect amount of adhesive
When you’re new to acrylic fabrication, it can be challenging to estimate the right amount of adhesive to use. This is part of a natural learning curve that improves with hands-on experience and experimentation across different acrylic thicknesses and joint types. Whether you’re working with a water-thin adhesive like ACRI-BOND 105 or a thicker formula such as ACRI-BOND 110 or 125, the goal is to find the balance. By using enough adhesive to fully wet the joint, but not so much that it overflows or creates abundant excess. With practice, you’ll quickly develop a feel for the ideal application.
If you make a mistake and hazes
If a droplet of adhesive accidentally lands on your acrylic surface, it may leave a hazy mark. Don’t panic, the most important thing is not to touch it. Avoid wiping, blowing, or disturbing the droplet, especially in humid conditions, as moisture in the air can increase hazing. Allow the adhesive to fully dry on its own. Once dried, any haze or blemish can typically be removed using our Acrylic Polish Kit. Gently buff the affected area, and within a minute, you should begin to see the mark fade and the surface return to clarity.
Laser cuts
Laser-cut edges on acrylic may look clean, but they’re not ideal for solvent adhesives. The laser melts the surface slightly, sealing the edge and making it too smooth for the adhesive to work effectively. Solvent bonding relies on a chemical reaction that slightly softens and fuses the two acrylic surfaces together. If the edge is too smooth or heat-sealed, the solvent can’t properly penetrate or fuse the material.
By lightly roughening the edge using fine sandpaper or a router you break that sealed surface. This allows the solvent to flow into the joint and chemically bond the parts more effectively. This improves both the strength and clarity of the finished joint.
Safety
Always work in a well-ventilated area when gluing acrylic with solvent-based adhesives (or even adhesives in general). These products release fumes that, if inhaled over time, can lead to light-headedness, headaches, or general discomfort even during smaller jobs.
To stay safe, wear protective gear like gloves, goggles, and a mask. Solvent glues can cause skin irritation, so it’s important to avoid direct contact with your hands, eyes, or mouth. A little preparation goes a long way in keeping your workspace safe and comfortable.
Where to go from here?
Have a go!
Using our guide you just read, have a go yourself. Set up some identical samples: same size, thickness, and edge finish and try the different techniques using our recommended best practices on how to glue acrylic. This hands-on approach is the best way to build confidence and get a feel for how solvent adhesives behave. Try a simple butt joint, a mitre corner, or T-joint. Experiment with both water-thin and thickened adhesives to see the difference in flow, setup, and final appearance. Take note of how the glue wicks into the joint, and what happens if you use too much or too little. Don’t get discouraged if you don’t nail it on your first try, acrylic fabrication takes practice. With each try, you’ll get more control, cleaner results, and a better understanding of how to get that seamless, strong bond every time.
At this point, you should have a solid understanding of how to glue acrylic cleanly and effectively.
Where would you use other types of adhesives?
There are a couple other adhesives for acrylic that are suitable too and all have their place in Acrylic Fabrication. A loose guide is below.
- Methacrylate Adhesives (MMAs) – Structural Strength, Waterproofing, Dissimilar Materials.
- UV Adhesives – Perfect clarity, great workability
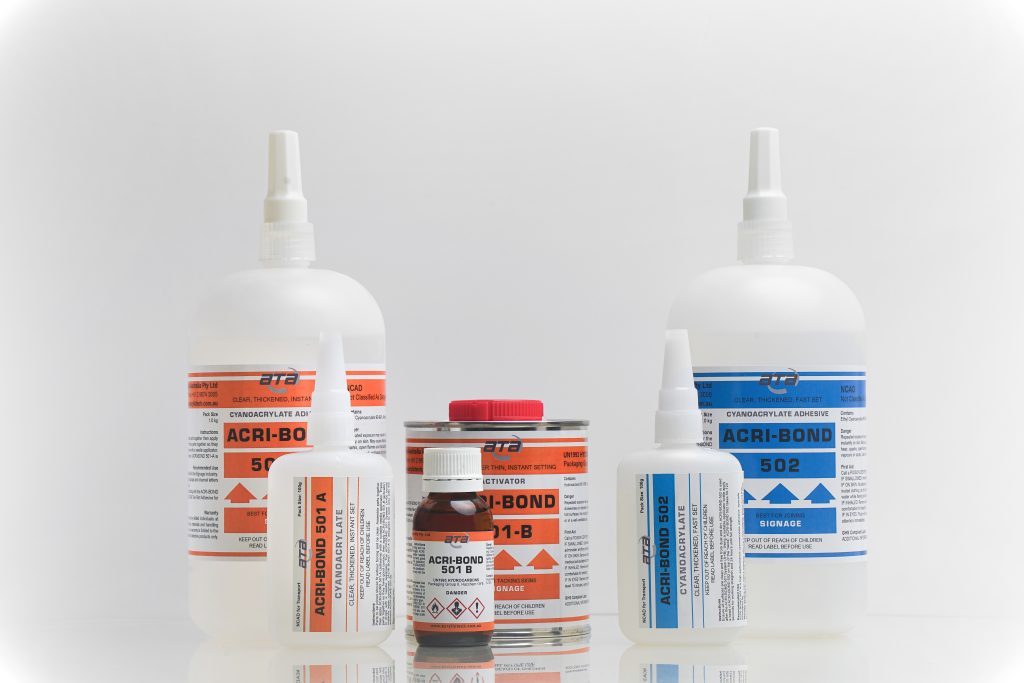
- Industrial Cyanoacrylates – Dissimilar Materials, Instant Set
- MS Polymers – Sealants, Adding a Flexible Join
As you can see there are plenty of adhesives suitable for acrylic however it is a case by case basis of what you require from the job.
If you need help deciding just give us a call and one of our friendly team members will assist in choosing the correct adhesive for your job.
Check out our YouTube Channel
We are constantly updating our website and YouTube channel to provide you with the best information possible. We will be creating an updated video in relation to this article very shortly so stay tuned!